
I bought a Besttop “No Drill” safari-style bikini header for my 2006 Jeep Wrangler LJ. The online forums have mixed opinions about ease of installation or re-installation. If I had read that thread first, I might have purchased the drill header and hacked it to work on my Jeep.
Even those who have the top often complain about the install difficulty, and I bought this to be able to put on and off at ease, so I want to be able to put it on and off easily. Online advice includes leaving it in the sun and bending the corners of the header strip for better flex. I even tried heating the strip and corners with a heat gun.
After fighting with it for 30+ minutes, I decided the design was flawed, and attempted to figure out why it was so difficult to get the front strip to stay in the header. There are a range of interconnected reasons:
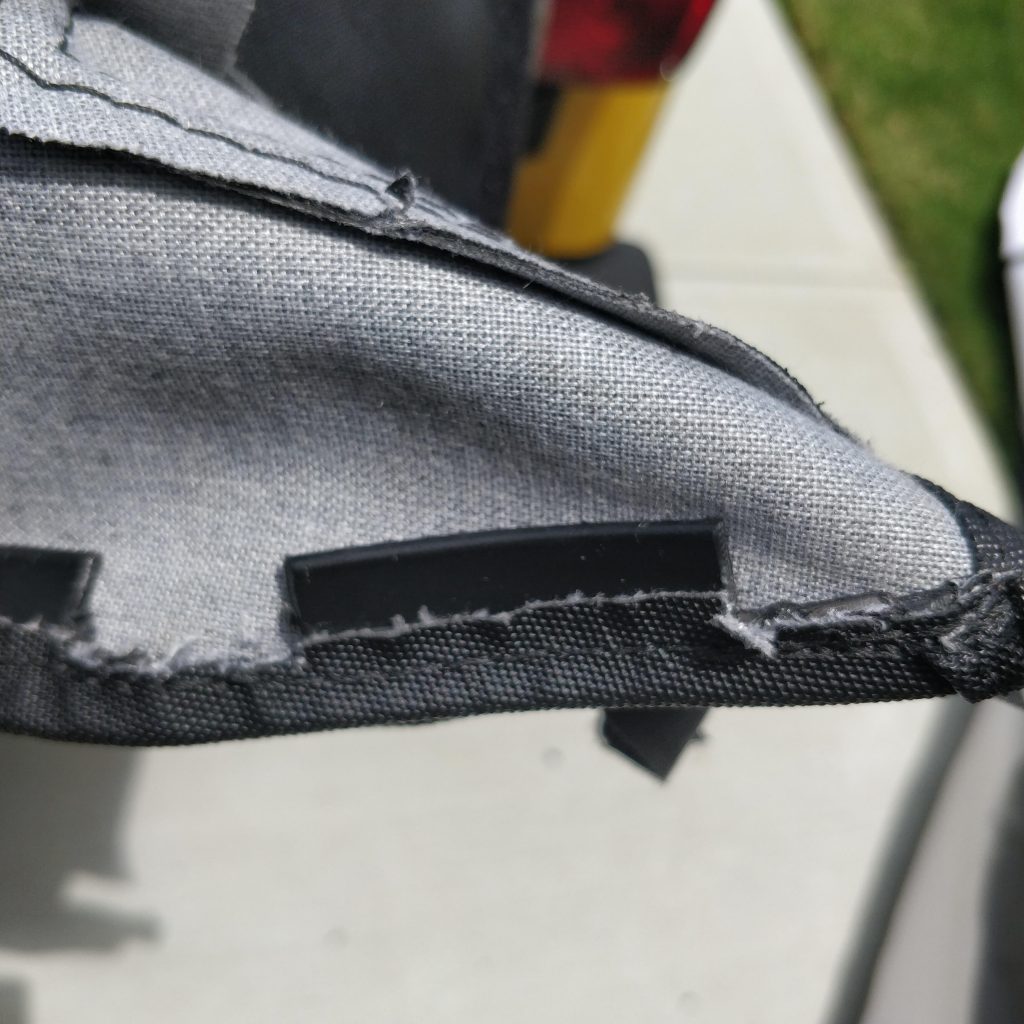
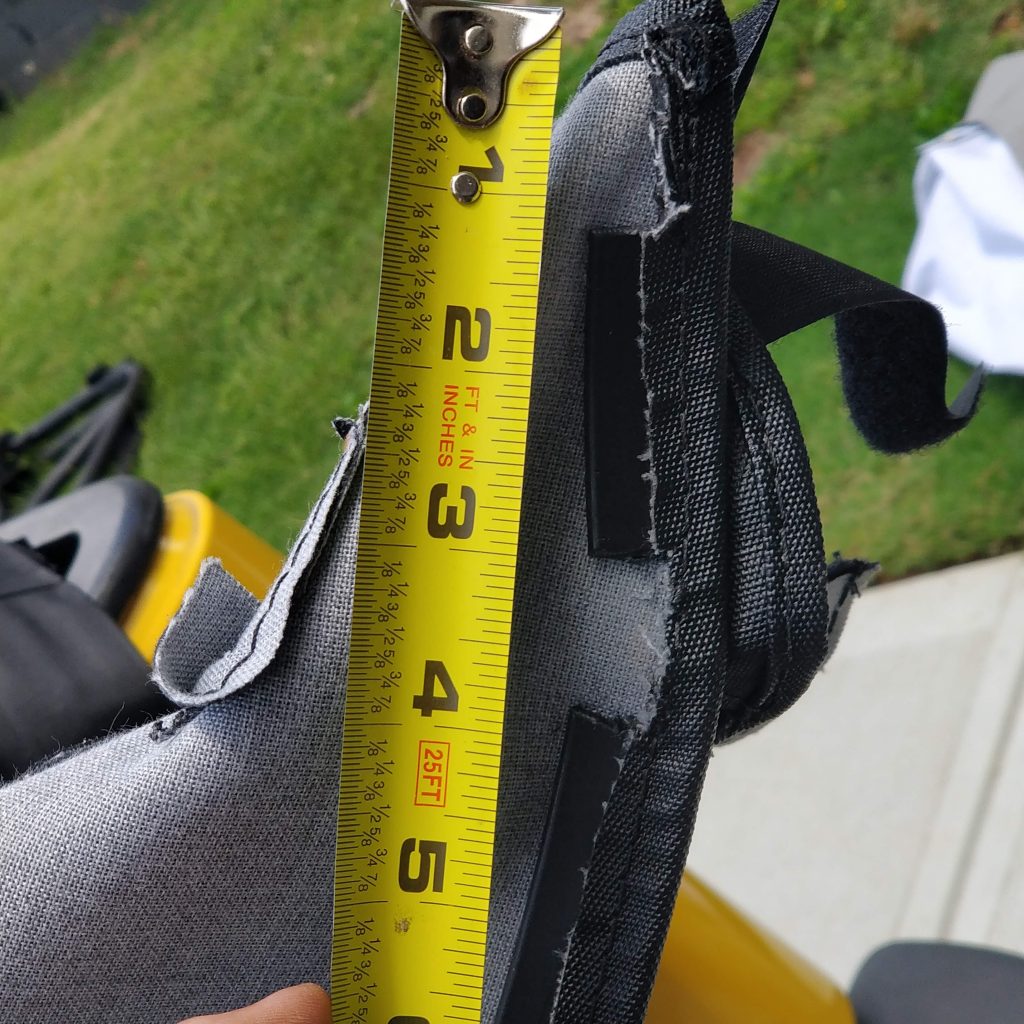
- The header strip in the top is too long
- The header strip is hard to fit into the rounded edges of the header
- The header strip cannot flex sufficiently to enable it to stay in the header while tightening and tweaking
- The fabric wants (needs!) to flex at the corners more than the header strip will allow
I found a way to modify the header strip that makes it easy to do the initial strip and tightening, independent of tightening the corners. This was via trial and error. You can do exactly as I say here, or try to customize the hacks for your own needs!
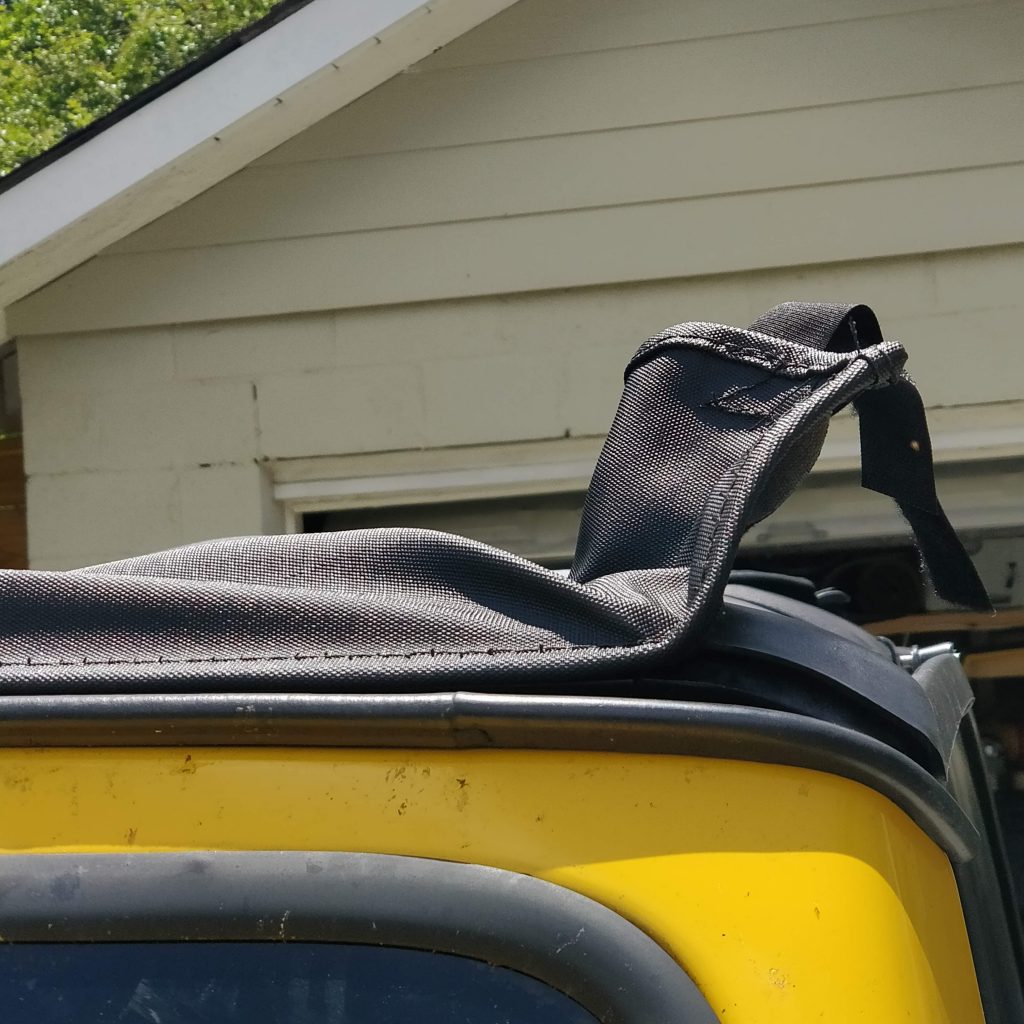
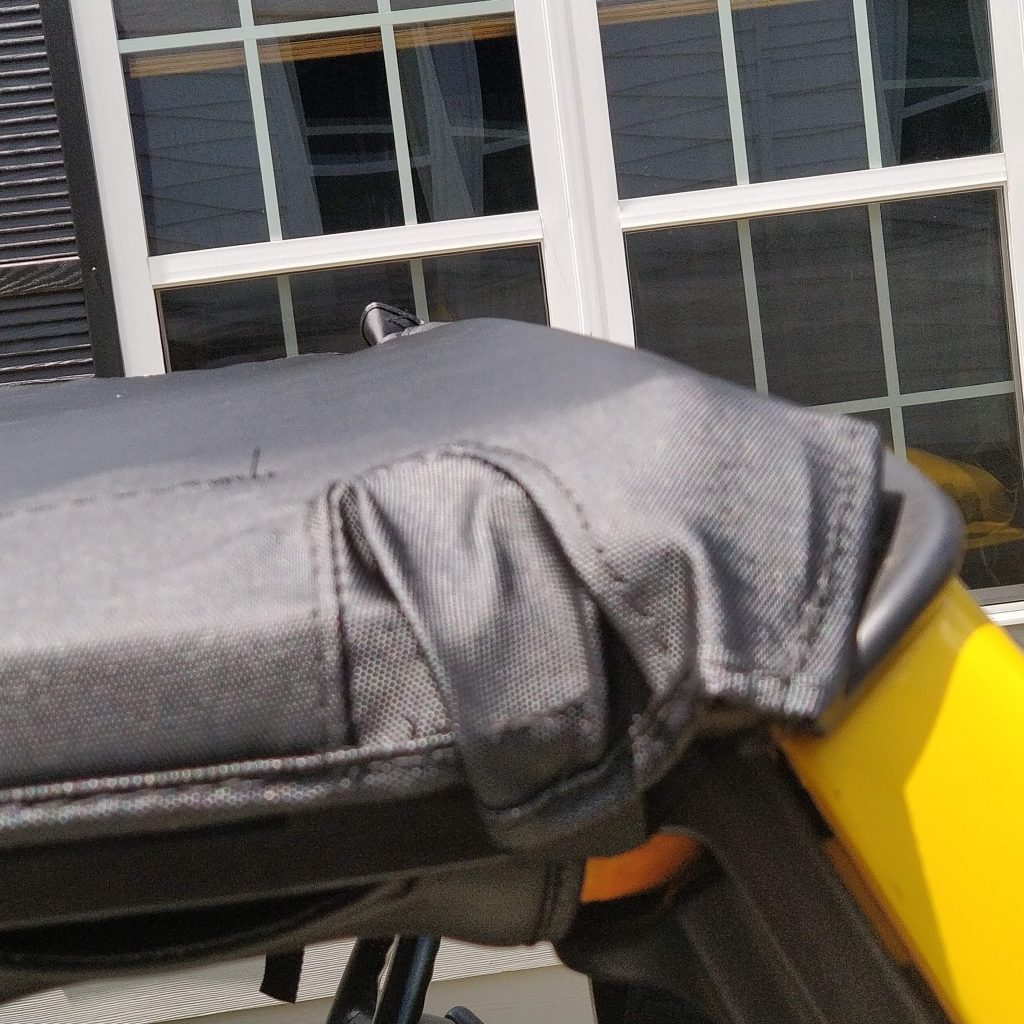
Modify the header strip sewn into the top. I used a pair of tin snips, scissors may not be strong enough. I cut out approximately the 1st and 4th inch on each side according to the images below. The “interior” cut is 3/8″ on either side of the 1/4″ indentation already there to indicate where it should flex. Cut the strip down to, but not into the sewing along the strip, you want to preserve the integrity of the sewing!
Installation. I can do this in 8 minutes on average (7-9 minutes). By myself. I have timed it 4 times.
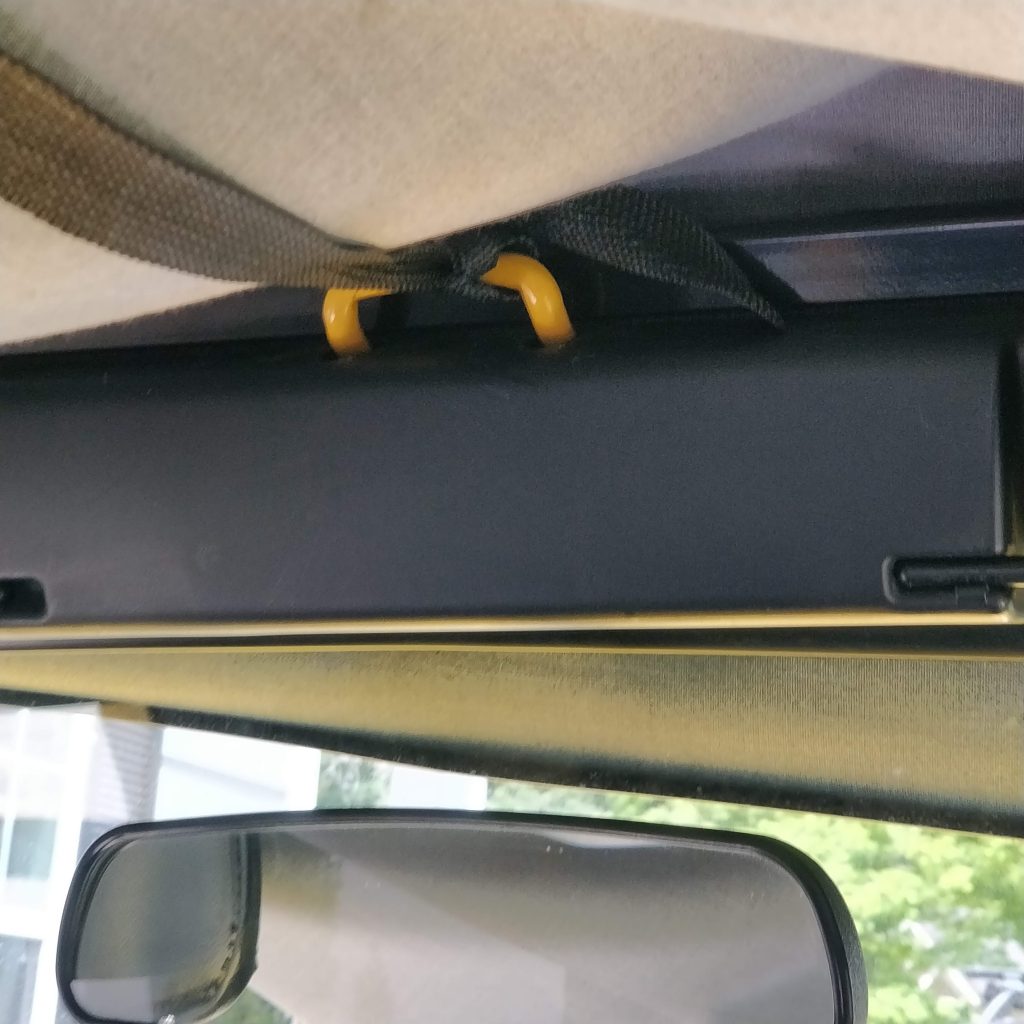
Step 1. Preposition the top over the Jeep LJ. To assist with drops, loosely secure the rear straps (left photo). Drape the front of the top about 1-2 inches beyond the working header, and tie a slip knot securing the center strap to the center windshield footman loop (right photo). This helps catch the header if you drop it so it does not fall into the cab! Not necessary, but a safety time saver.
Step 2. Insert the center portion of the header into the channel. You can ignore the ends and just fold them up and out of the way. This is the game changer in installing — it will go in and stay the first time! And mechanically separates the challenge of getting the corners in. Get back in the cab and tighten the center strap that was slip tied to the footman’s loop. See photo below.
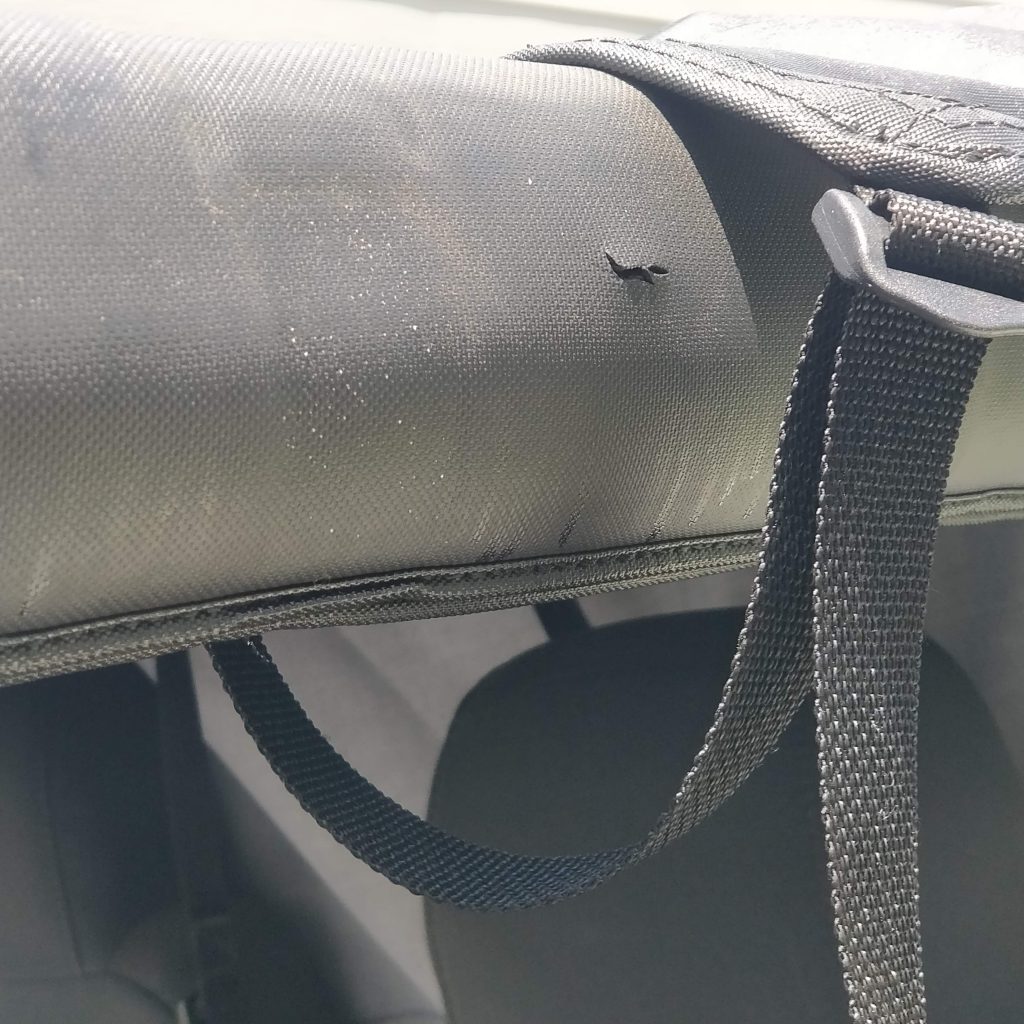
Step 3. Secure the corners. Per the instructions, insert the velcro through the corners at the front of each door frame. Insert the “end header piece” into the channel and secure the velcro, bending the corners per the instructions. When done, you will have a secure corner, and a slight dimple in the top where the fabric buckles a bit (this is more evidence of what the intact header was preventing!).

Step 4. Secure the side channels into the factory door surround (see instructions if you do not have this) and secure the middle and rear straps, but not completely tight yet.
Step 5. Re-tighten the center strap to the footman’s loop a final time. I find this allows a final level of tightness.
Step 6. Fully secure the mid and rear straps on each side. Congrats!
I hope someone finds this helpful. If I were to start over, I would likely have modified the drill-top to work with my Jeep. But this does work, and I find the time taken is not too long given the frequency that I might be taking it on and off.